For medical cannabis patients who deal with a lot of pain, a really strong edible is often the only thing that will provide relief.
A really strong edible often requires cannabutter, and a strong butter at that.
Not all edible recipes call for butter, as some call for raw cannabis, cannabis milk, cannabis coconut butter, etc.
But for the most part, knowing how to make marijuana butter is important as it’s the starting point for most cannabis recipes.
Many different methods exist to make cannabis butter, and there is no “right way.”
NOTE:
Some people out there swear that their way is the only way to make cannabutter, but that’s just simply not accurate.
I have seen people make cannabutter at least a hundred different ways, all of which produced some great butter.
The only real difference was how to make the cannabutter stronger.
Why I Prefer My Cannabutter To Be As Strong As Possible
A lot of cannabutter recipes I have seen over the years produce low to medium-strength butter. That’s fine for a lot of people, but I prefer mine to be very strong.
I have a high tolerance, and when I’m eating edibles, it’s likely because I’m in pain and I want the pain to go away.
Weaker cannabutter is preferred by many people because they just want to relax or eat an edible that takes a bit of the edge off.
What I always point out to people is this:
You can always reduce the potency of butter by substituting some cannabis-infused butter for regular butter in recipes.
However, you can’t add more potency to butter after it’s already been made.
So I prefer to make my pot butter as strong as possible, and then let my friends and family develop a ratio of cannabutter to regular butter that works best for their tolerance level and desires.
Step 1 – What Do You Need To Make Cannabis Butter Stronger?
This is what you will need for a very strong cannabutter recipe that I have been using for about a decade, and have improved upon over the years:
- Cannabis trim (plant material)
- High-quality salted butter
- Water
- Cookie sheet
- Medium saucepan
- Stirring spoon
- Potato ricer
In the past, access to cannabis trim required being a grower or knowing one. Now, however, some dispensaries sell packaged trim or shake at a lower cost than dried flower for use in baked goods.
If you can’t find trim, you can always use dried flower run through a hand grinder. But keep in mind that this recipe requires far fewer buds than trim.
The cookie sheet will be used for decarboxylating the cannabis trim (see step 2), and the potato ricer will be used like a to strain the boiled cannabis at the end of the boiling (see step 4).
Be aware that this method of boiling in a large pot produces a lot of odor.
Many of my friends and family prefer to use a crock-pot or slow cooker to make cannabutter to prevent the smell from filling the house, but I have found that method adversely affects potency.
The method I use involves boiling cannabis, butter, and water for four hours with no lid on the pot, so you can imagine the aroma it produces. Consider this your warning!
Step 2 – How to Decarboxylate Cannabis

- Break up your cannabis as much as possible (a food processor works well)
- Place it on a cookie sheet
- Preheat your oven to 260 degrees
- Place the cookie sheet with the cannabis on it in the oven for 45 minutes
For a long time, I did not decarboxylate my cannabis before making weed butter with it.
The end result was still very strong, but the butter did not possess the full effect that it could have had.
Decarboxylation is necessary to activate some of the cannabinoids in cannabis, in order to get the most effect out of the cannabis being used. Below is how you do it:
As with just about anything in the cannabis world, there are differing opinions about the best temperature and duration to decarb cannabis.
Most people I know will say low 200s for about 60-75 minutes, but my friend Amber Senter, who I consider to be the top cannabis edible authority in America, suggested that I do 260 degrees for 45 minutes.
Step 3 – Combine All The Ingredients And Start Boiling

This brings us to the boiling phase, which also includes mixing my initial cannabis butter ratio (strong and easily diluted later with regular butter):
- Fill the pot 1/4 to 1/3 full of cannabis trim
- Put one cup of butter for every four cups of water into the pot, until the cooking pot is about 80% of the way full
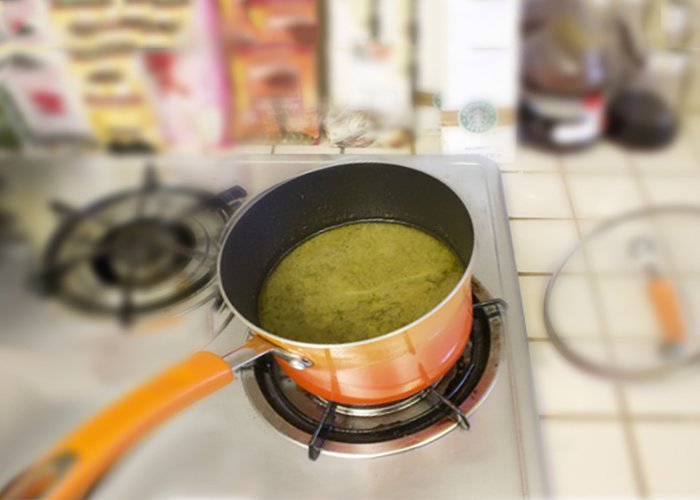
- Turn on the burner as high as it will go and bring the mixture to a boil
- Let the mixture boil for four hours, stirring as needed
- Add water as needed because it evaporates and the level in the pot lowers
Water protects the butter and cannabis material from scorching.
I cannot emphasize it enough, while the mixture boils it will be putting off a very strong smell of cannabis. If you live somewhere that odor is a concern, keep the overwhelming smell in mind. As previously stated, you can use a crock-pot or slow cooker if you want to lower the smell factor. However, every time you open the lid the smell will be very strong, and since the crock-pot does not burn as hot, the final product isn’t as strong but it will still work.
If you are doing the stovetop method, check the boiling mixture every 15-30 minutes to see if it needs to be mixed and/or have water added.
You can boil it for longer than four hours if desired, but I have found that four hours is sufficient for making a strong cannabutter.
Step 4 – Straining The Mixture After The Boiling Is Done
When you are done boiling, the next step is separating the solids from the liquids.
A lot of the work can be done by pouring the mixture through a fine-mesh strainer into a container. However, the remaining ultra-hot cannabis trim still has a lot of liquid butter on it, and that needs to be separated, too.
For a long time, I placed the remaining plant material on the strainer and let gravity do the work. However, not all of the butter would strain off of the cannabis, and a lot would be lost or missing front he final product.
I then started just squeezing the cannabis with my hands (after cleaning them of course!), which was very effective at getting the remaining liquid butter off the cannabis.
It was a long process, as I had to wait for the cannabis to be cold enough to touch, but still warm enough for the butter to be in a liquid state — so warmer than room temperature.
One day, my wife saw what I was doing and asked why I wasn’t using a potato ricer. I had never heard of such a thing, but it proved to be a revolution for my butter making process.
I have been using a potato ricer ever since, which has really cut down on a lot of the time spent straining and squeezing the cannabis.
Step 5 – Letting The Butter Cool And Storing In The Refrigerator
By the time you are done straining and squeezing the mixture, the cannabis liquid will have already started separating, with the water on the bottom and the oil on the top.
Leave the container out for about 30-45 minutes to cool off a bit, then put it in the fridge overnight.
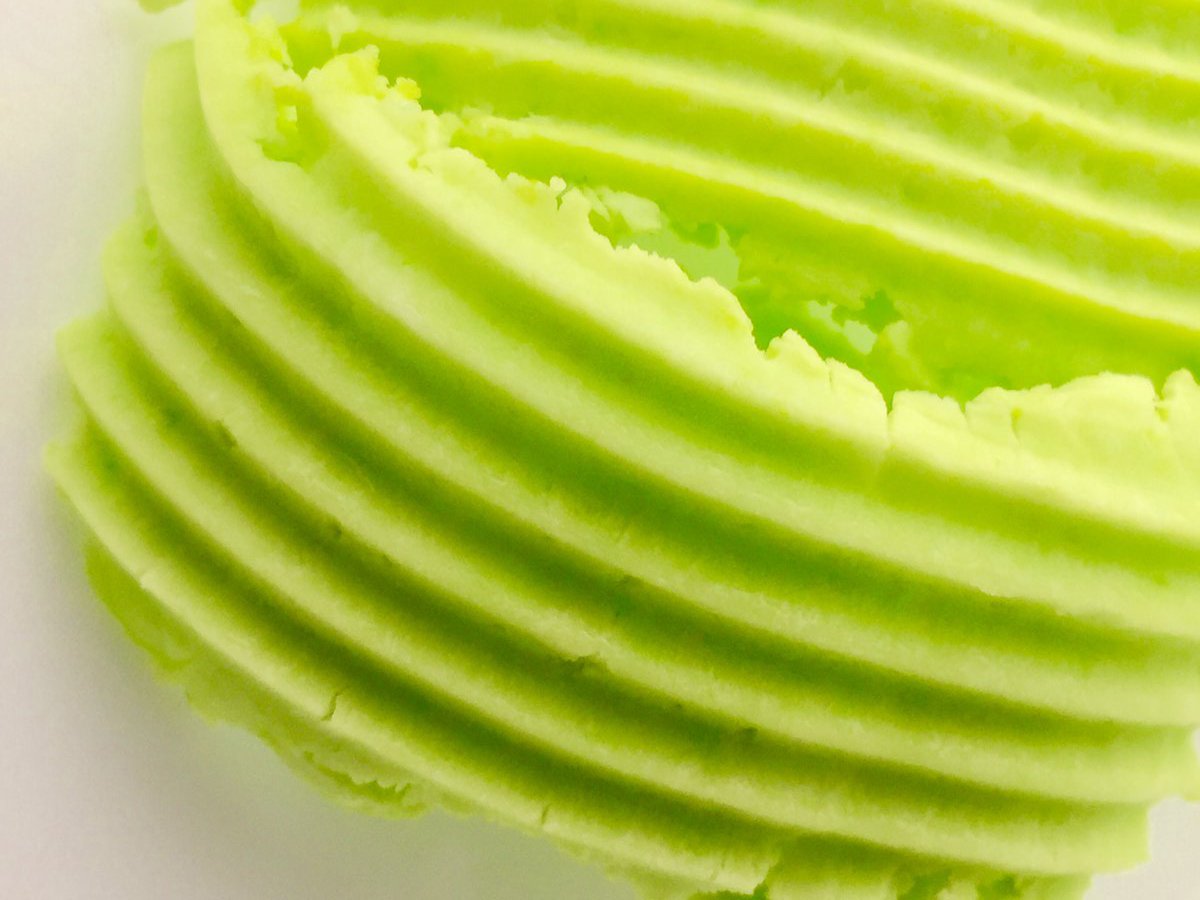
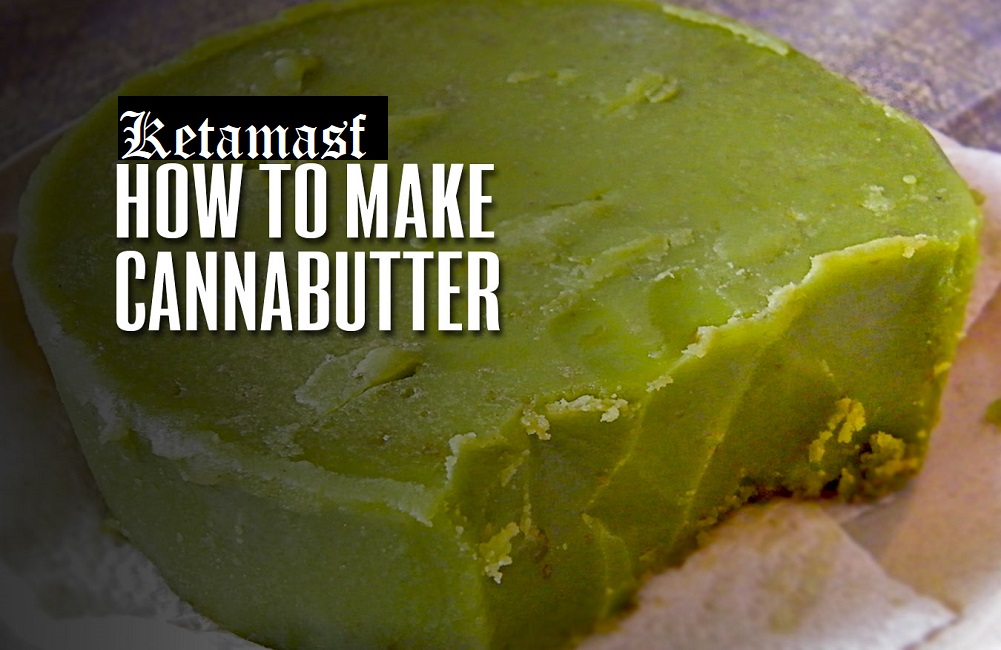
When you wake up the next day, the oil will have hardened into gloriously potent cannabutter.
Pulling it out of the container is tricky, as the water underneath will splash around as you’re removing the butter, so watch out for that.
You can discard the water, which is likely brown and very gross looking. Scrape off any funky stuff from the bottom side of the cannabutter chunk, and put it in the fridge.
I put it in the freezer if I’m not going to use the cannabutter for a while. If stored properly, you can expect your cannabutter to last in the freezer for up to six months.
This recipe should make extra-strength cannabis butter, which can be mixed with regular butter to reduce the potency if you need a lower edibles dose. If you don’t reduce the potency, be careful, as this recipe makes really, really strong cannabutter!
If you are trying to be healthier, you can, by all means, use unsalted butter as an input too.
If you have any tips, tricks, or another butter recipe that you prefer, by all means, put it in the comments section so that others can benefit from your knowledge!

I was under the impression that once you decarb the weed that you couldn’t cook with it at tempatures higher then the decarb temp you used. Is that a thing? It’s not like the cooking temp for brownies is 230 degrees..
I put the mason jar directly onto the flatiron griddle (the plug in type) with the weed and oil and infused and decarbed all in one step and the oil made the weed bubble and bubble yet I was still able to grab the top cause only the oil got hot not the glass.