There are loads of specific recipes online but I’ve tried a few of them and honestly they never seem to work for me. To be honest, it’s really easy to make, but you’re going to need a set of specific items in order to do so.
Crumble
A cannabis extract identified by its malleable texture that falls apart, or “crumbles,” when handled. Unlike other forms of concentrates, crumble — sometimes called “honeycomb wax” — is quite versatile, and not limited to dabbing. Some sprinkle the extract over the top of cannabis buds in a bowl, blunt, or joint. The fragmented texture results from elevated temperatures used during the solvent removal process, or by whipping the extract under the presence of heat.
What is Crumble?
Crumble is an extract, a form of cannabis concentrate that’s produced using a solvent. But unlike other concentrates, which are generally fluid in their consistency, crumble is defined by its unique, crumbly texture. In fact, when made correctly, the final product is the driest type of extract on the market. Crumble can be made with processes that include either trimmed, cured nugs or a freshly harvested plant. It can be consumed on its own, or combined with flower in a variety of ways. This versatility, combined with its potency, makes this increasingly popular among cannabis consumers.

How to Smoke Crumble
One option for smoking crumble is to add it to blunts or joints to enhance the effects. When the flower is flat on the rolling paper or tobacco leaf, add small pieces of the concentrate, ensuring that as much of it lays in the center as possible. Once it’s rolled up and ready, light one end and draw from the opposite end. When the smoke is inhaled, the flower and crumble combination produces significantly heightened effects.
If you’re smoking your flower topped with crumble in a bong or pipe, fill the glass bowl with flower and add the concentrate to the top. Light the mixture with a lighter and, depending on the device, pull air into your lungs when the smoke is ready. The flower and crumble mixture will produce a smoke that’s more potent than flower alone.
How to Dab Crumble
“Dabbing” is another popular method of consuming crumble. Dabbing uses a particular type of water pipe called a “dab rig,” or simply “rig,” as well as a flat bowl called a “nail.” Unlike glass bowls used for smoking flower, nails are designed to withstand higher temperatures.
Use a dabber with a spoon-shaped tip, as opposed to a flat-tipped dabber that’s used for most other extracts. To take a dab, preheat the nail with a gas-powered torch, preferably butane (propane-fueled flames are much hotter and could damage the nail). Once the nail reaches the correct temperature, turn off the torch and safely set it aside. Use your spoon-style dabber to drop the concentrate onto the nail. When the crumble comes in contact with the hot nail, the extract quickly vaporizes. As the vapor emerges from the nail, inhale through the mouthpiece on the opposite end of the rig.
As an alternative to using a gas-powered torch, an electric nail, or “e-nail,” can be used with a dab rig. An e-nail attaches to a dab rig just like a typical nail, but is heated using electricity rather than by a torch. When the e-nail has reached the optimal temperature, drop the crumble into it using your spoon-shaped dapper and draw in the vapor from the rig’s mouthpiece.
How to Store Crumble
Properly storing crumble helps to maintain its aroma, flavor, and potency, helping slow the natural degradation of the extract. Exposure to high temperatures, moisture, oxygen, and light speeds up the degradation process, which can change not only the unique characteristics of the concentrate, but also its effects as well.
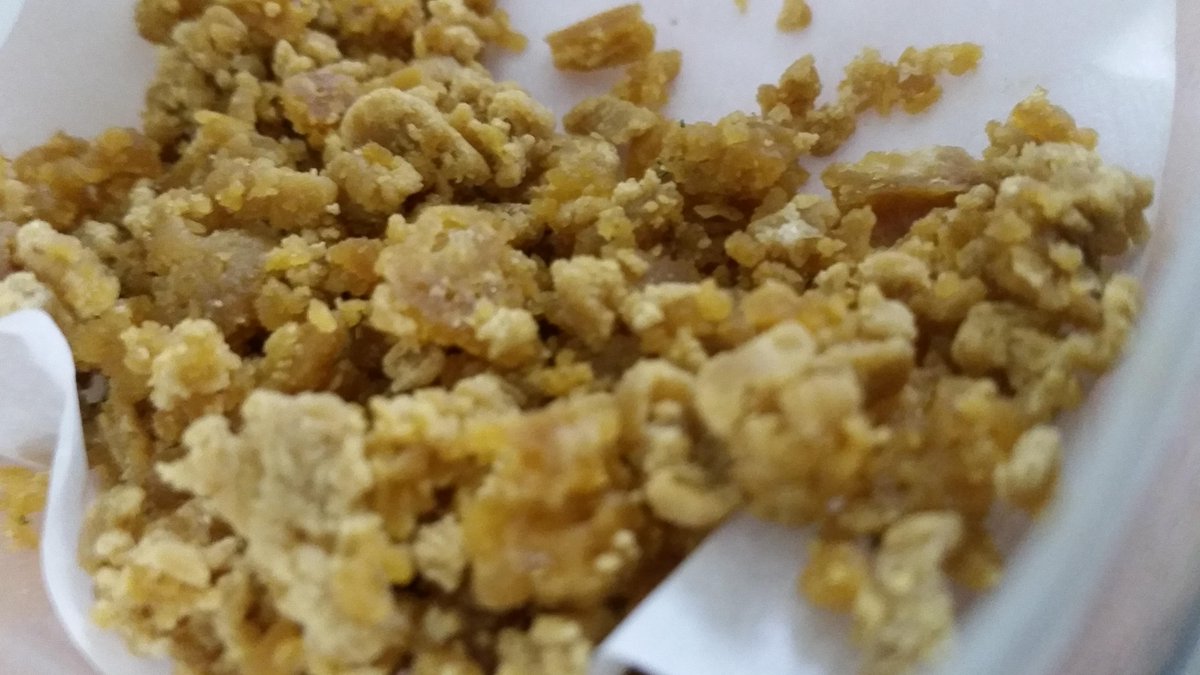
Fresh crumble is typically soft and dry with a yellowish color resembling mustard. If it’s not stored properly, it can turn a darker color or harden over time. To ensure the longest shelf life possible, crumble keeps best in an airtight and lightproof container. The ideal containers for storing this concentrate are made of glass or silicone, rather than storing it in parchment paper. Temperature is a factor too: it’s recommended to store crumble in a cool environment.
How Crumble is Made
For safety and health reasons, producing extracts should be left to professionals, as the setup and materials require precision and accuracy, and can quickly become dangerous.
Crumble can be made with just about any solvent, but similar to the butane hash oil or BHO production process, the most common techniques use a solvent such as butane. Other commonly used solvents include propane and ethanol. Using carbon dioxide (CO2) as a solvent for crumble will likely yield a watery solution, closer to a type of concentrate called sap, especially if there is any remaining moisture in the plant matter prior to the extraction process.
Here’s a list of things you’ll need to make BHO crumble:
- Xtractor roller tube (or a similar object)
- Refined gas, like Clipper or Colibri gas
- Pyrex tray
- Pot of hot water
- Infrared thermometer
- A Dabber
- Blades for scraping
- Large or small silicone mat
- Vacuum pump
- Desiccator
Step 1: First, you’ll need to fill your Roller Xtractor tube with cannabis. You can do this with cuttings or buds, fresh or dry; the dryness simply indicates what color your crumble is going to be. You’ll need to pack it in quite tightly and once you’ve filled it up, blow through it to check if any air can get through.
Step 2: Freeze the Roller Xtractor with the weed inside as well as the butane you’re planning on using. Leave it to freeze for 24h.
Step 3: Prepare your Pyrex tray and gas your Roller Xtractor. Make sure that you’re in an open area with plenty of ventilation, even outdoors if possible to minimize any risks.
Step 4: Let the gas evaporate completely until there’s just a sort of paste left. Once the gas is gone, it’s safe to go back inside or close your windows.
Step 5: Place the pot of water on the hob (only ceramic, electric hobs can be used, under no circumstances are you to use a gas hob with an open flame). Set it to 1, 2 at the most and heat up the water. Once it’s nice and heated up, just place the tray on top of the pot as if it were a lid, so that heat from the vapor hits the Pyrex tray directly.
Step 6: With your infrared thermometer you can check to make sure it isn’t going over 40ºC, which would negatively affect the terpenes. When the temperature is nearing 40º, remove the tray and wipe off the few drops of moisture. Once it’s cooled down a bit, place it on the pot again. This is so the paste bubbles nicely and releases any leftover butane.
Step 7: You’ll need to pop any bubbles that appear using your dabber. Once there are hardly any bubbles left and you can tell that it’s getting slightly dryer, it’s time for the most important step in assuring you get top quality crumble rather than just some slimy mucus. You’ll need to begin scraping the bottom of your tray with the dabber, up and down, diagonally, any way you possibly can. Make sure that the temperature doesn’t go over 40ªC.
Step 8: The previous step can take a couple of hours; the paste will go from being transparent and gloopy, to slightly harder and a kind of cookie, opaque color. Once it’s no longer transparent you know you’ve succeeded. Now you just need to use your scraping blades to make sure it’s all off of the tray, and place it on your silicone mat.
Step 9: Now you’re going to need to vacuum dry it. You’ll need to stick it in the desiccator and connect it to the vacuum pump. Don’t interrupt the vacuum at any time or open the desiccator. You can however, program the pump with a timer so that it turns on and off for 15 minute intervals so that you can check to see when it’s dry enough.

Step 10: Before removing the pressure it needs to be completely dry or it won’t inflate properly and then it’s extremely difficult to dry. The only way you can know if it’s fully dry is by how it looks. You should take a picture of it when you first begin drying it to compare it to the final result. Here we have a couple of pictures of some crumble before it’s dried and after. You can clearly tell which of the two is dry.
Step 11: I’ve never taken longer than two days to get my crumble by using these simple steps, one day being the quickest and two days the slowest. The last step is to simply remove it from the vacuum by letting air in little by little, and once you take the lid off your crumble will be ready!
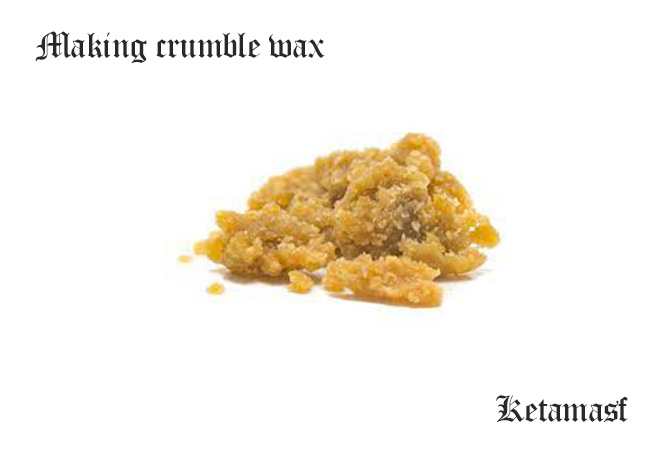
We guarantee you that if you follow these simple steps, you’ll have a perfect looking crumble cookie like the one in the picture without using any sort of strange methods you can find out there. Don’t be fooled with articles that talk about a miracle method to create BHO, because this is honestly the best and simplest method by far!

What is the best way to store my crumble and shatter? Fridge? A cool dark place? Should I store in silicone or leave on the wax paper? Any advice is greatly appreciated.
Whatever it comes in probably good enough. Some crappy shatter can leech into parchment. No silicone. Cool dark place better than fridge.
Fridge if you aren’t opening it, but cool dark place if you are opening it regularly. When taking out of the fridge, allow to come to room temp before opening, or you will draw in moisture and degrade your extract. And do not store in silicone, if possible, and never, ever use wax paper even for short term. Your best bet is to get a dozen glass extract jars off of Amazon. They’re cheap as hell, and re-usable.
Thank you for that advice, I will do that. I currently have it in the baking paper it came on in the fridge in Tupperware, I only take it out to use the whole thing so not opening and closing regularly. I will get the glass containers, sounds like less chance of leeching.